Unpack & Setup Guide
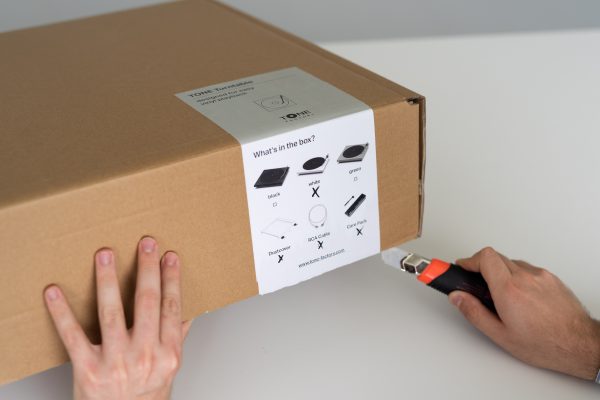
1/28 - Open the packaging. Don't throw away any of the packaging materials, you may need it later for warranty reasons!
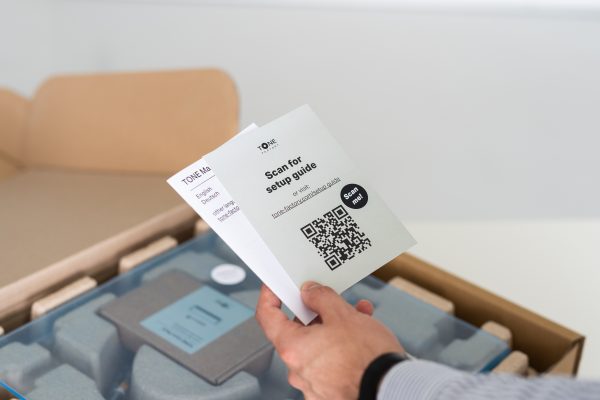
2/28 - Take out the manuals, and read them carefully in order to get the most out of your new TONE turntable.
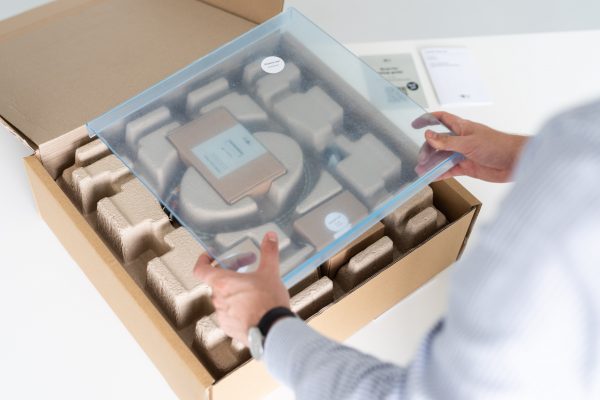
3/28 - ONLY if you ordered your TONE turntable with a dustcover, take out the dustcover.
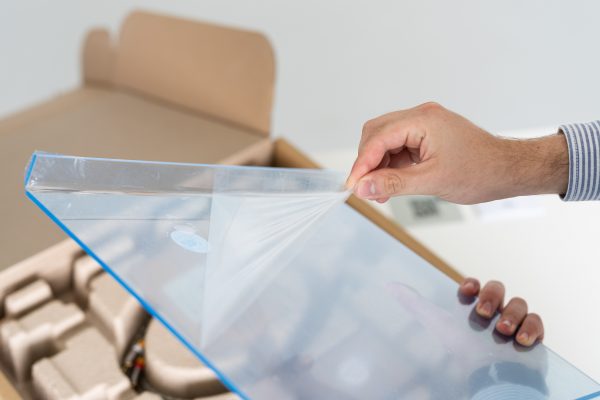
4/28 - ONLY if you ordered your TONE turntable with a dustcover, remove the plastic foil that is protecting the dust cover on both sides.
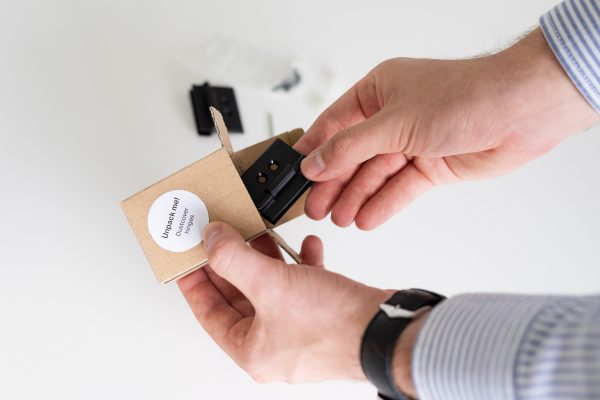
5/28 - ONLY if you ordered your TONE turntable with a dustcover, unpack the hinges for the dustcover.
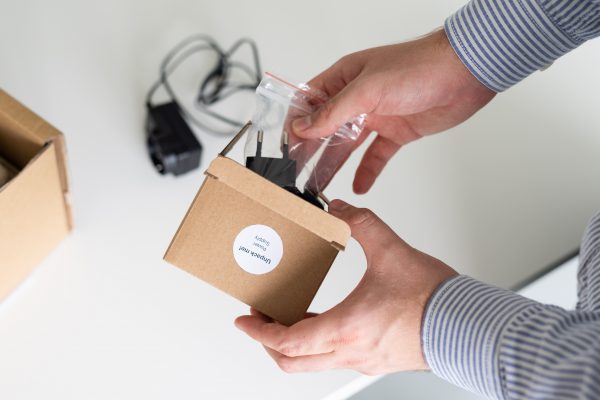
6/28 - Unpack the power supply.
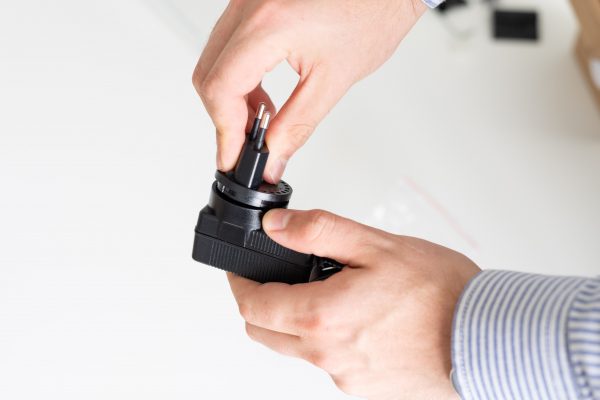
7/28 - Attach the correct adapter plug for your country.
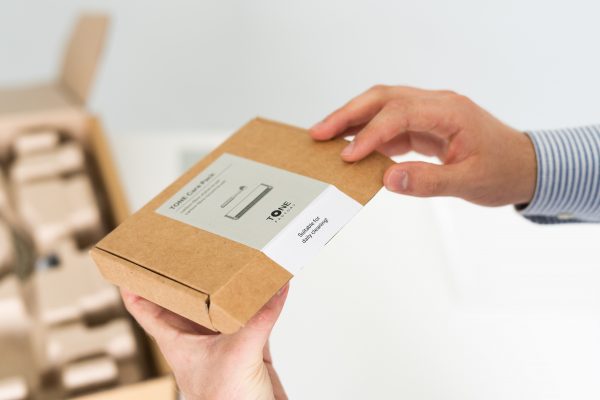
8/28 - ONLY if you ordered your TONE turntable with a care pack, unpack the care pack.
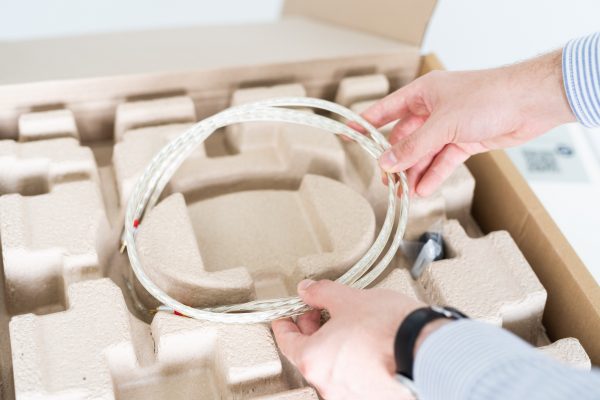
9/28 - ONLY if you ordered your TONE turntable with an RCA cable: Unpack your RCA cable.
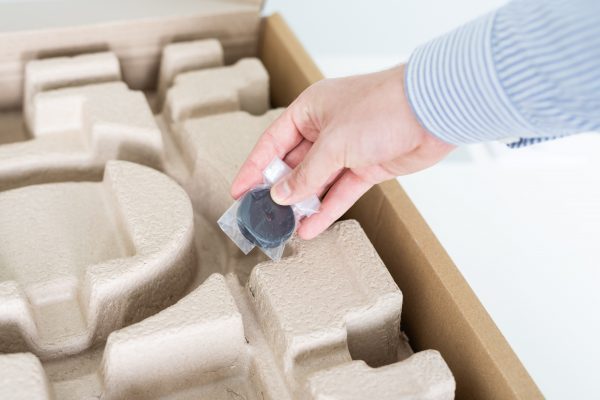
10/28 - Unpack the singles adapter. Use this adapter when playing 45RPM singles.
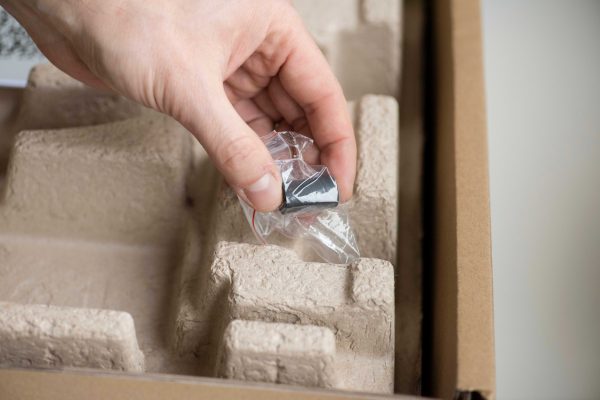
11/28 - Take the counterweight out of the upper packaging mold.
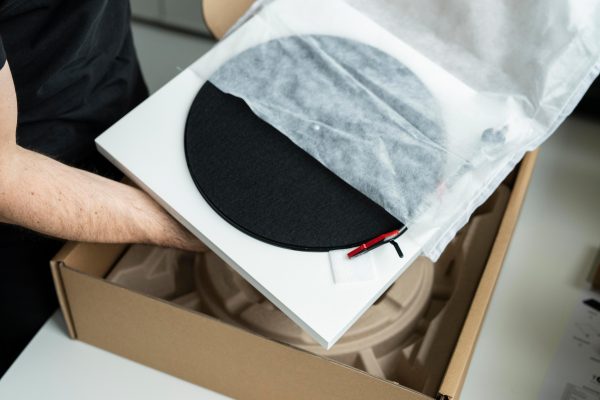
12/28 - Take out your TONE turntable and remove the turntable protection bag.
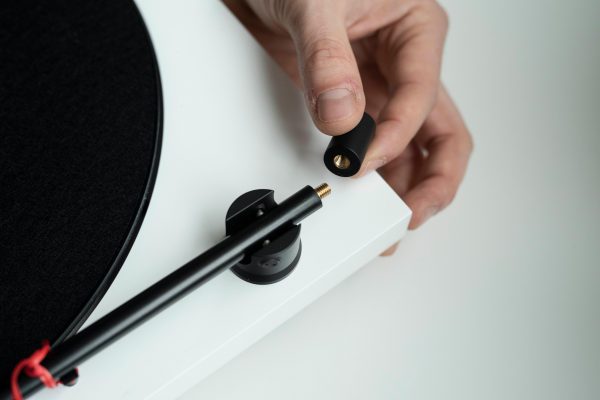
13/28 - Carefully install the counterweight by screwing it onto the tonearm.
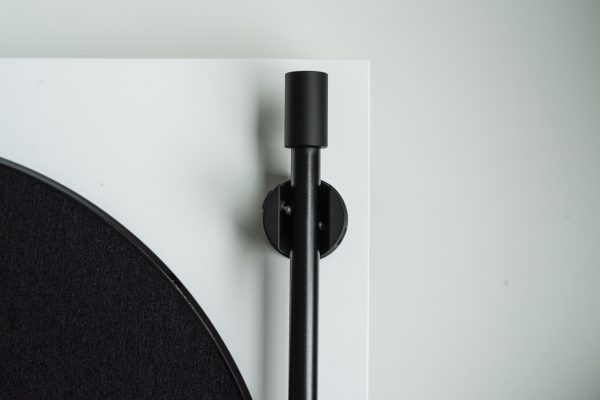
14/28 - Ensure that the counterweight is screwed completely onto the tonearm. This step is important, for the tracking force to be set correctly.
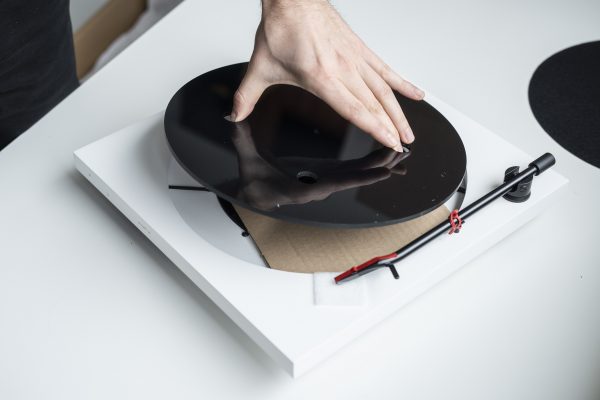
15/28 - Remove the platter from the turntable chassis.
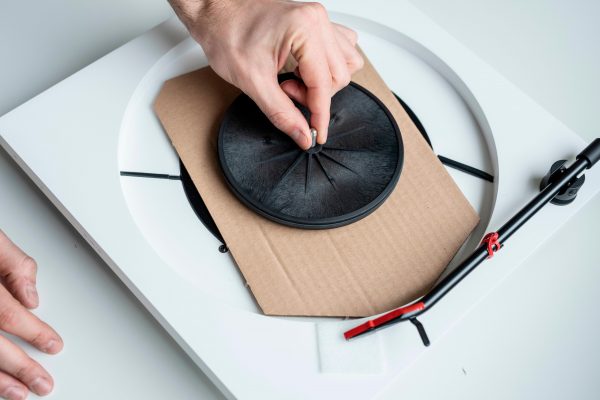
16/28 - Lift the sub-platter off of the turntable.
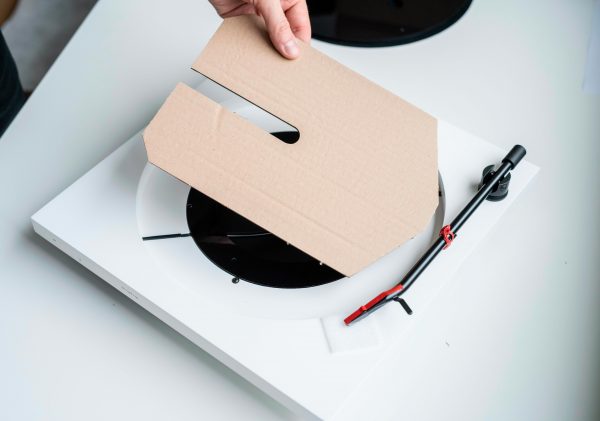
17/28 - Remove the cardboard inlay.
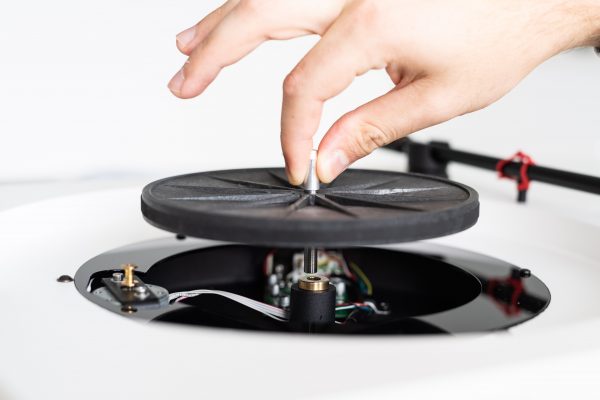
18/28 - Place the sub-platter back on the turntable.
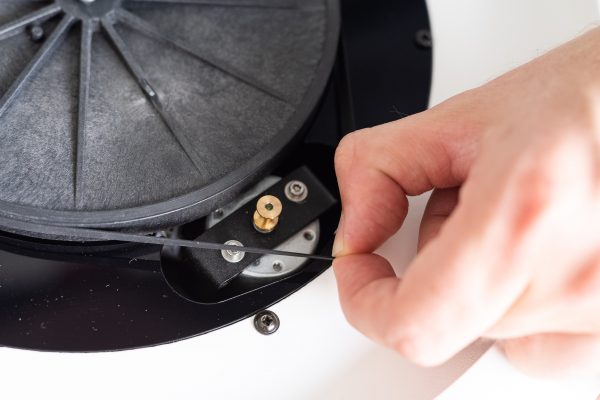
19/28 - The drive belt comes factory fitted on the sub-platter. Carefully position the drive belt around the motor pulley.
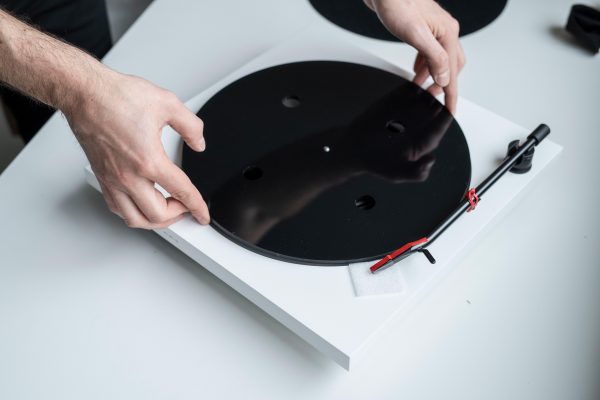
20/28 - Reposition the platter back on the turntable.
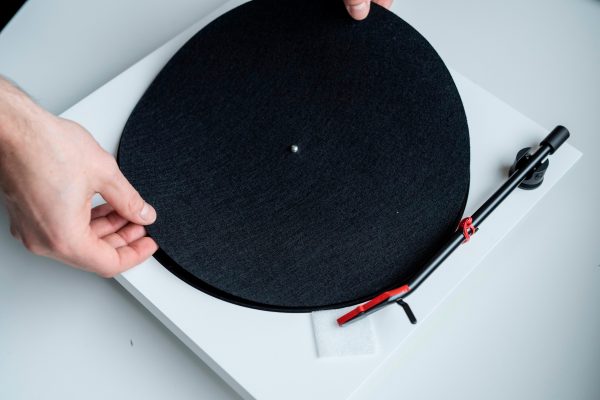
21/28 - Place the felt mat on the platter.
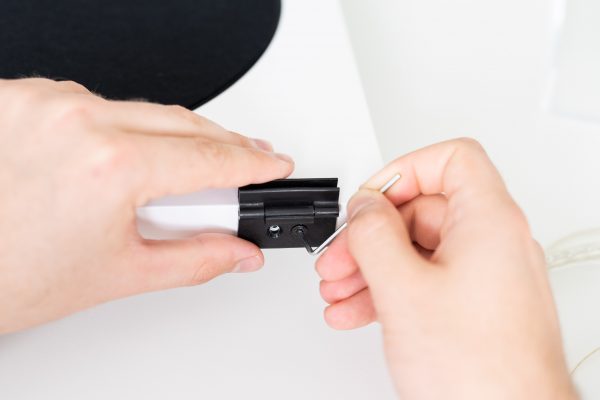
22/28 - ONLY if you ordered your TONE turntable with a dustcover, screw the dustcover hinges onto the back of the turntable plinth using the pre-drilled holes and the supplied tool.

23/28 - ONLY if you ordered your TONE turntable with a dustcover, mount the dustcover by placing it into the hinges on both sides.
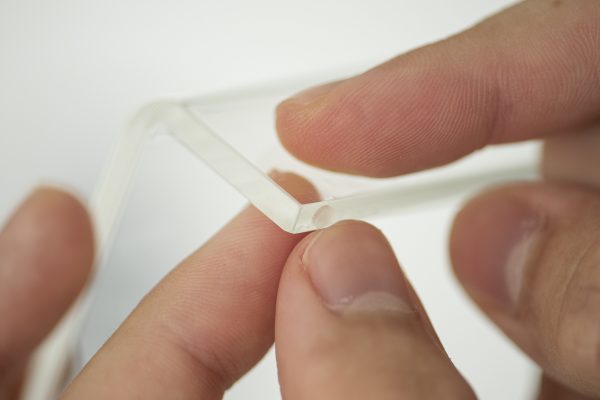
24/28 - ONLY if you ordered your TONE turntable with a dustcover, stick the damping pads on the front edge of the dustcover.
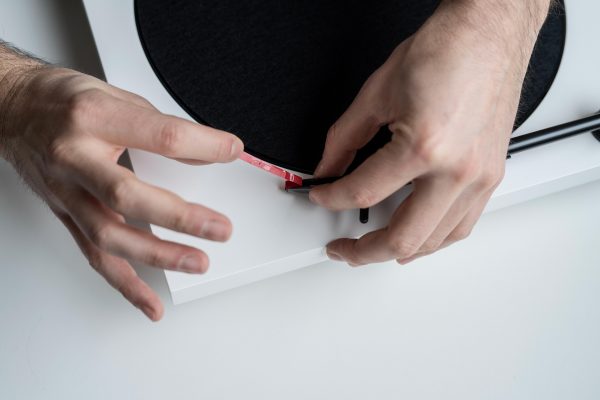
25/28 - Remove the tape from the cartridge protector.
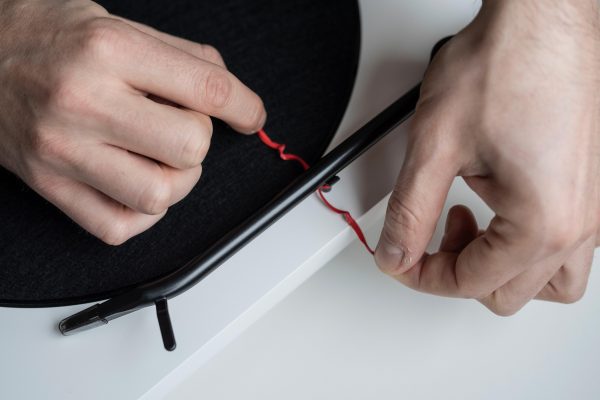
26/28 - Remove the tonearm transportation lock.
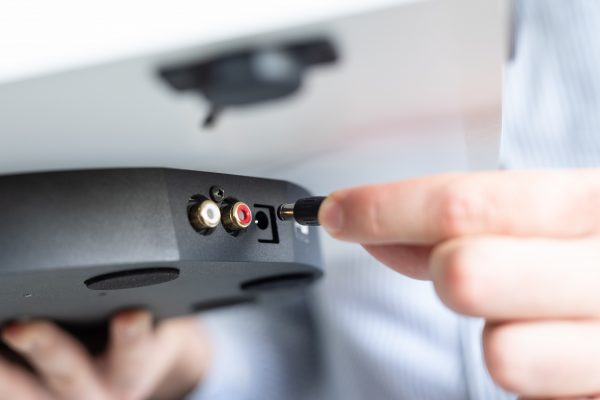
27/28 - Connect your power supply to your TONE turntable.
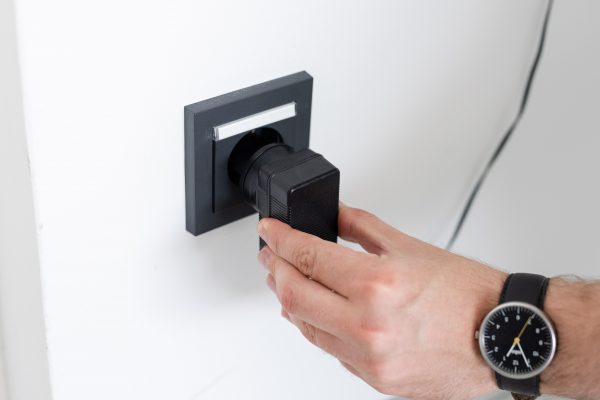
28/28 - Plug the power supply into a wall socket.
How to connect with Bluetooth
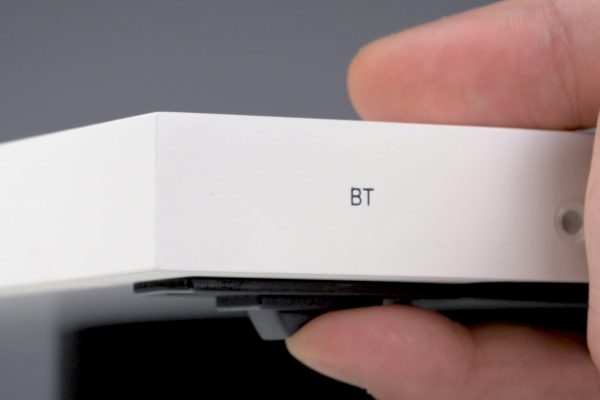
1/3 - Turn on Bluetooth on the TONE turntable using the switch on the underside of the chassis (do this before you put your speaker into pairing mode).
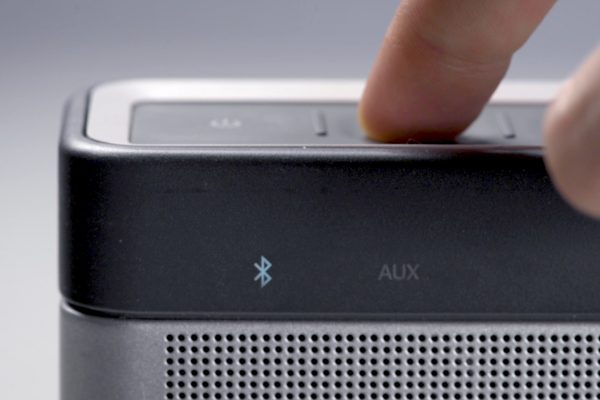
2/3 - Put your speaker or receiver into pairing mode. Please consult the manual of your speaker or receiver for more information on how to do this.
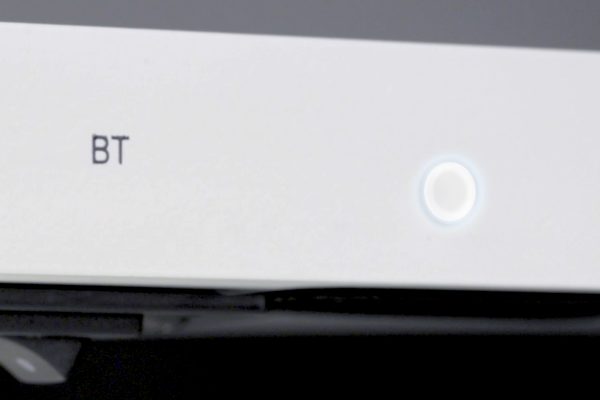
3/3 - The Bluetooth LED on your turntable will start flashing, and the turntable will try to connect to the nearest device automatically. Be sure to accept the pairing on your speaker or receiver if necessary. The LED indicator flashes with a 2 second pause as it tries to establish a connection. Once connected, it flashes once every 10 seconds.
How to connect with cable

1/4 - Plug the included RCA cable with the ends marked by the yellow indicators into a suitable line-input on your amplifier or active speakers. Make sure you don't mix up the left and right channels; white is left and red is right!

3/4 - Connect the RCA cable to the RCA outputs on your TONE turntable. Make sure you don't mix up the left and right channels. White is left and red is right!
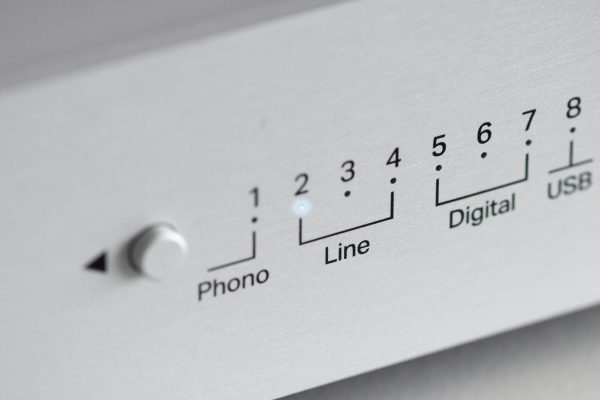
4/4 - Select the corresponding input on your amplifier that you connected your TONE turntable with.
How to play a record
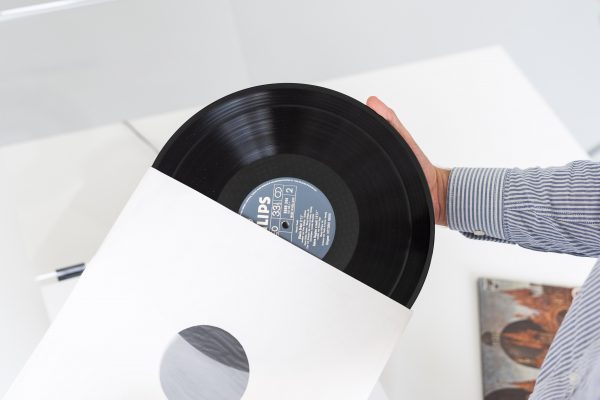
1/6 - Carefully take the LP out of its sleeve, holding it from the edges and record label.
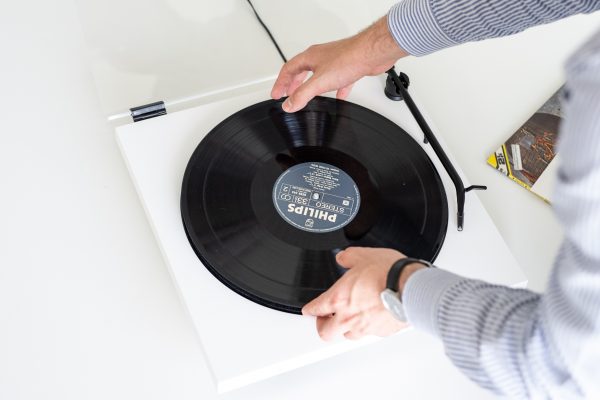
2/6 - Place the LP on the turntable platter.
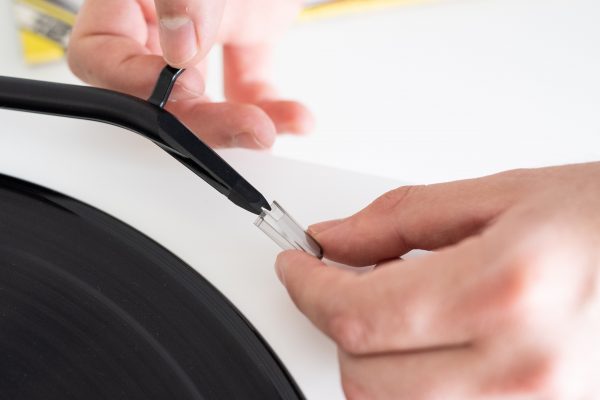
3/6 - Take off the stylus guard.
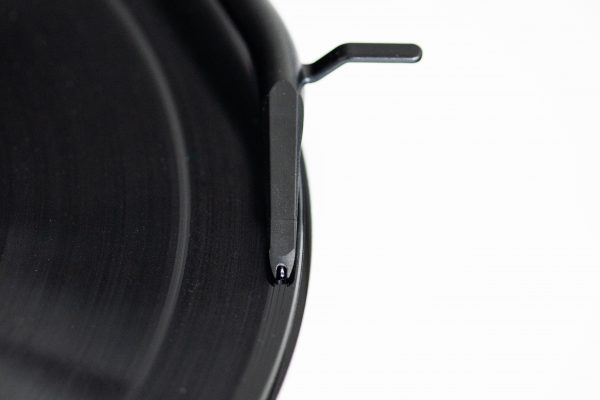
4/6 - Carefully place the tonearm on the LP.
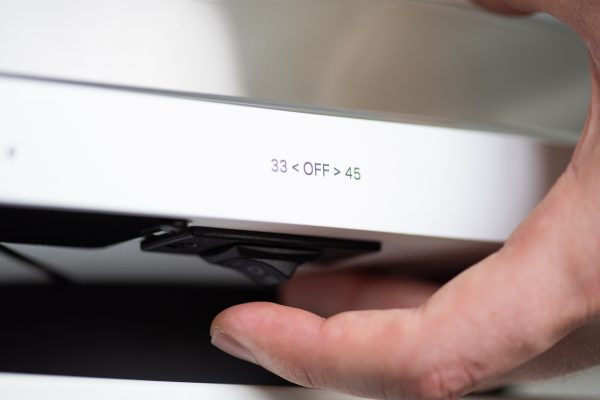
5/6 - Select the required speed on your turntable. Most records will be in 33 RPM. Singles and a smaller selection of regular LPs are in 45 RPM.
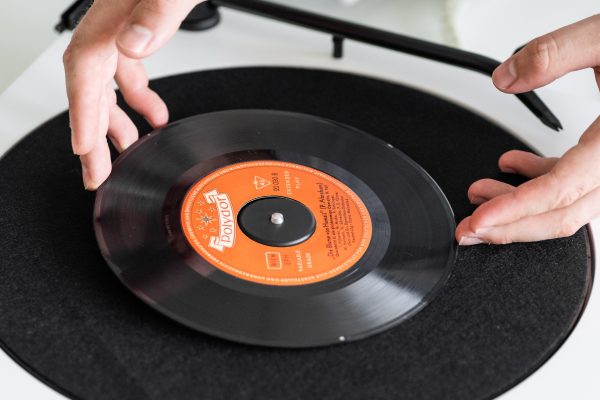
6/6 - To play singles, place the included single adapter on the platter. Singles need a playback speed of 45 RPM, be sure to select the right speed on your TONE turntable.